Interact with Unity UI (Tutorial)
To help you get started with integrating control into your own app, we have prepared a sample case study.
By reading the tutorial you will be able to:
Select a range of appropriate inputs to use with the controller.
Write code in C# to receive user inputs such as the Home, Bumper, Trigger and Touchpad.
Activate, rotate, and move a GameObject by using the input.
Interact with physical objects and UGUI in the unity environment.
Objective:
When pointing the controller at the cube, its color will change to green.
The color of the cube will randomly change when you press the trigger button.
The cube will rotate with the controller.
Activate or deactivate the cube for rotation by pressing the UGUI button.
Steps:
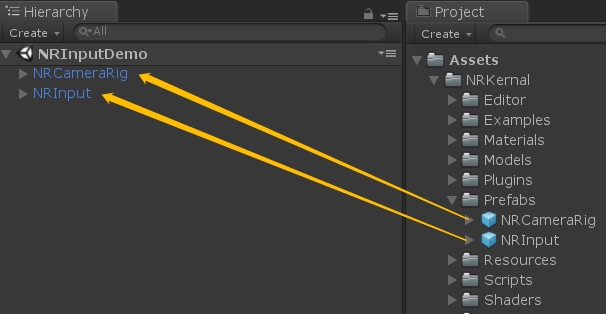
Drag NRCameraRig and the NRInput prefab to the scene hierarchy.
2. Create a cube. In the Inspector window, set its position to (0, 0.1, 3), and scale to (0.3, 0.3, 0.3).

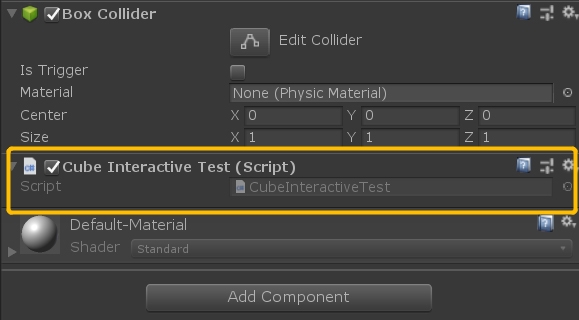
3. Create a script named “CubeInteractiveTest.cs” as follows and add it to the cube.
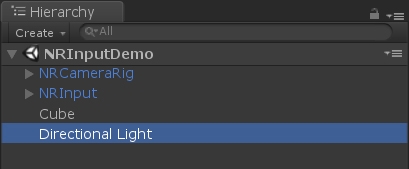
4. Add a DirectLight to brighten the cube.
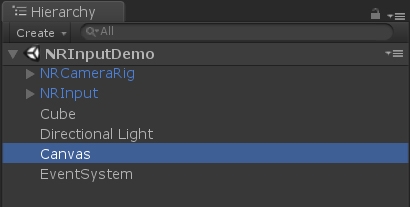
5. Add a Canvas and delete the EventSystem.
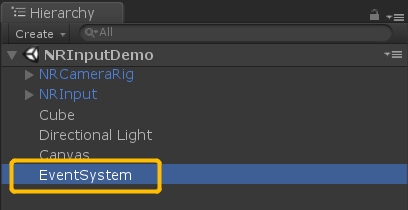
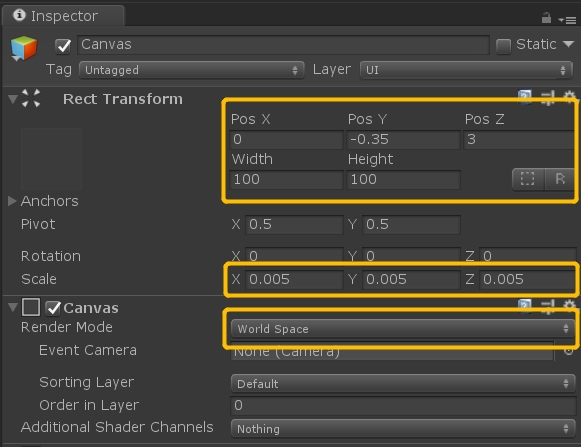
6. Set the Canvas RenderMode to WorldSpace, and then set its position and scale to an appropriate value such as that listed below.
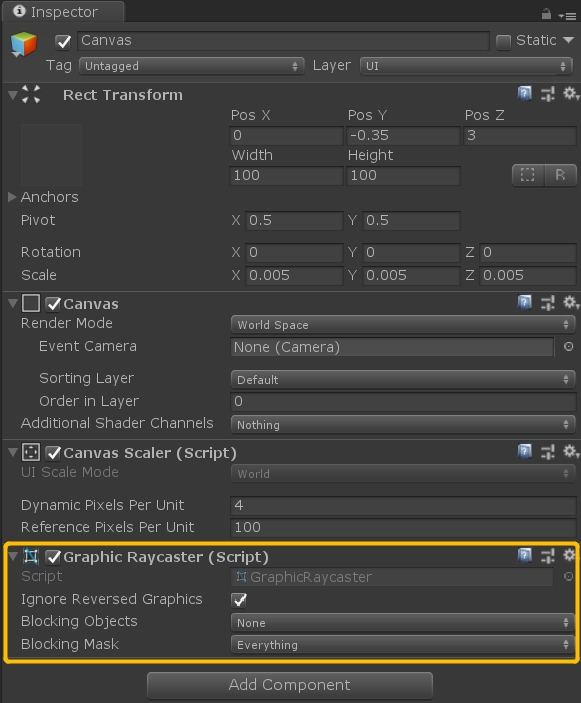
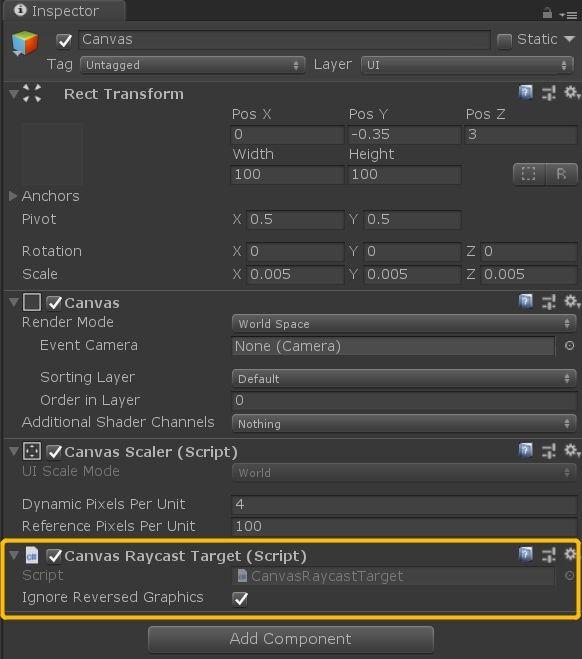
7. Remove the “Graphic Raycaster” component from it and add <u>Canvas Raycast Target</u>.
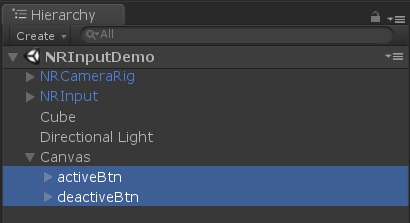
8. Add two buttons to the Canvas as its children. Name one button activeBtn and the other deactive. Remember to also change the button text.
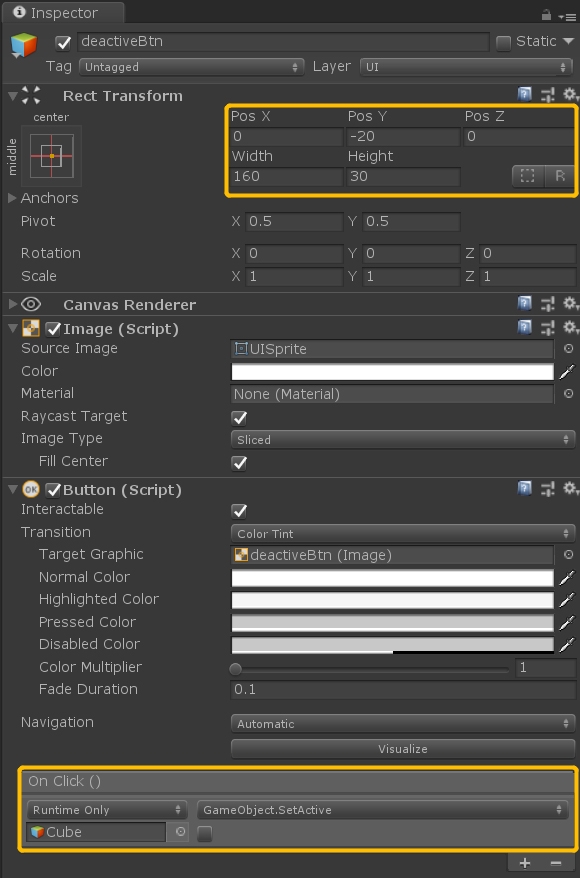
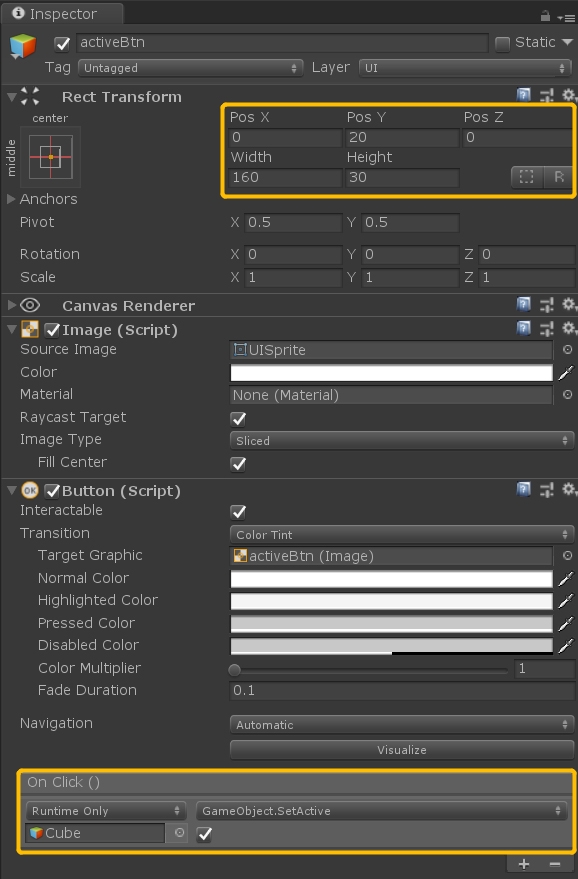
9. Set the buttons to an appropriate position and add the SetActive function as their OnClick events.

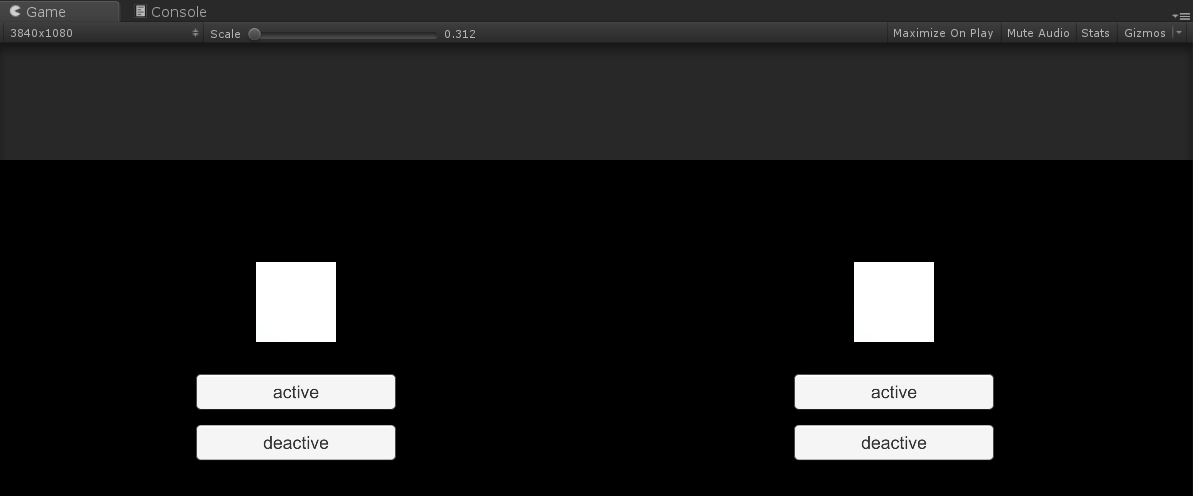
10. Finally, compile the app. An interactive mixed reality app utilizing user input with a XREAL Light controller is complete.
Was this helpful?